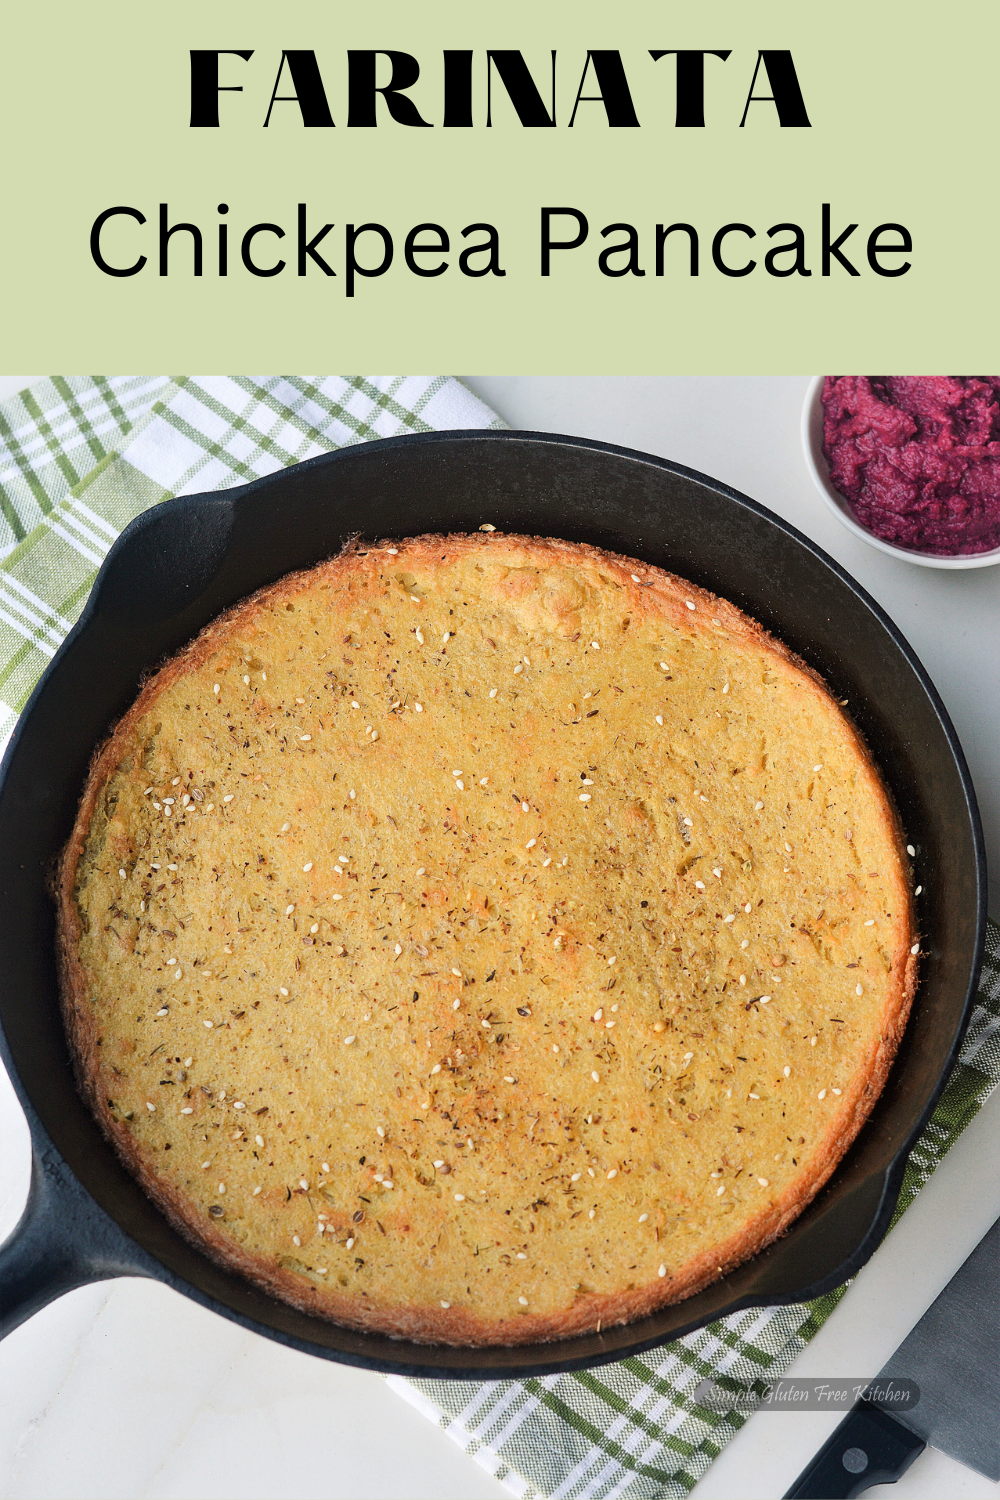
Farinata is a type of thin chickpea pancake with Italian origins. Also called socca or torta de ceci, it’s an incredibly easy-to-make, protein and fiber-rich recipe that happens to be naturally gluten-free, grain-free, and vegan too. I first discovered farinata from Loretta (an Italian food blogger) through the foodies’ platform during my Google+ days. Farinata has golden crispy edges and crust with a fudgy center. I make this often and had been meaning to post for so long but it often disappears before I can snap a few photos ( I did share one photo though in my celery salad post). Finally I got an opportunity to take some pictures and make a video when my husband and daughter were away at work.
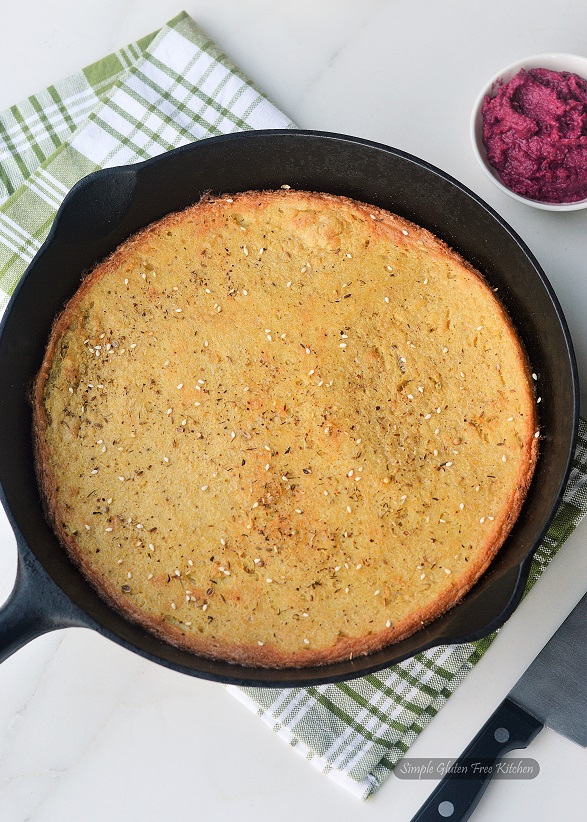
While there are many versions of farinata, I offer mine as a basic recipe and once you try it you’ll realize how easy it is to personalize it to your preferences. Farinata is made with chickpea flour, water, olive oil, and salt. With these ingredients, a thin batter is formed which is then cooked on a well-oiled flat pan in the oven. Simple! You can flavor the batter with, chopped garlic, sliced onion, or herbs and spices. The result is a nourishing and delicious pancake that can be enjoyed as a quick snack or served as bread with meals or in a sandwich or turn into a pizza crust with assorted toppings.
While this is an easy recipe to make, there are a few things to keep in mind and it all starts with the batter.
- The key to a crispier farinata which is custardy from inside, is to use the right ratio of water to chickpea flour ie. 3:1 by weight, which yields a very thin batter.
- The batter must rest on the counter for at least half an hour, ideally for 4 hours. It can even be prepared up to 24 hours in advance, stored, and covered at room temperature. The rest allows the flour to soak up the water and gives the chickpea pancake a smoother texture and richer flavor. Chickpea flour is made from chickpeas and you soak beans before cooking them, right? The farinata works on the same principle. To make it digestible, it’s very important to let the batter rest for several hours. Remove the foam that eventually forms on top.
- To make sure your farinata is the right thickness, choose the right size pan, large enough so that the batter is about 1/4 of an inch. More batter will make up a soggy pancake. It’s traditionally baked in a wide, shallow, well-seasoned cast iron or copper pan but I have tried it in an oven safe steel pan as well as in a cake tin with success. Just don’t use enamel-coated or thin cake pans, or the farinata will stick to the pan.
- Another crucial step is to preheat the pan in the oven and then generously oil it so there’s no chance for farinata to stick (the result will not be oily at all).
- Once it’s time to bake farinata, preheat the oven to maximum temperature to get as close as possible to wood-burning oven temperatures (that’s how it is cooked in Italy), somewhere around 500°F to 550°F. But not all home ovens reach that temperature. So you set the maximum temperature and bake it on the lower shelf of the oven for half time so the bottom gets crusty then move to the middle shelf for browning the top. The cooking time will vary depending on your oven and the temperature. Each time I make farinata, 500°F for 25 minutes (total time) works for me.
- If it needs a little more browning or to develop a few brown spots on top, turn on the broiler and broil for a minute or two.
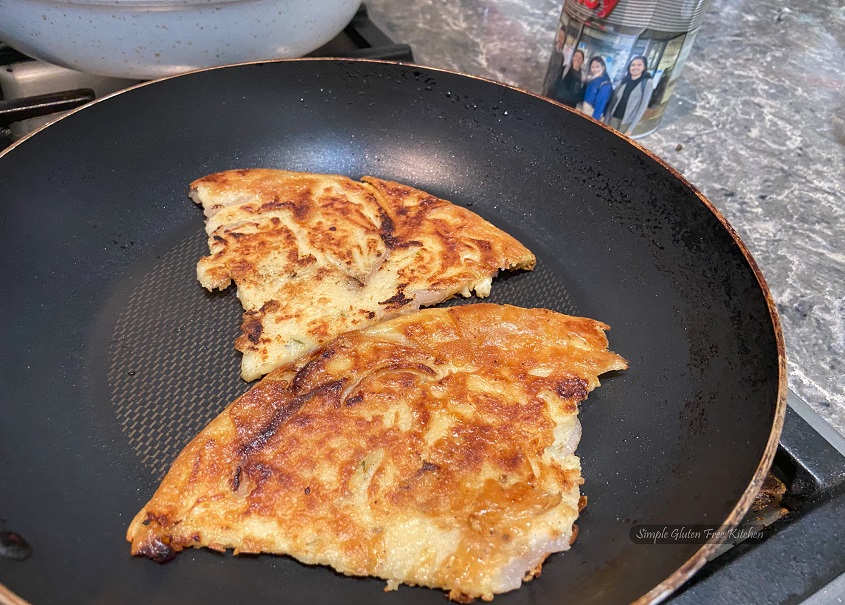
It may take a couple of tries to get your farinata right. Pay attention to every detail and once you get a hang of it, it will come out perfect every time. In general, farinata is best served hot when its edges are still nice and crisp but it can be stored in the fridge for up to one week. Reheat slowly in a non stick pan with a bit of olive oil to make it crispy again (picture below).
My recipe makes one large farinata, the diameter of a 10″ cast iron pan. When sliced into quarters, it should serve 2 people as a main dish or 4 people as an appetizer.
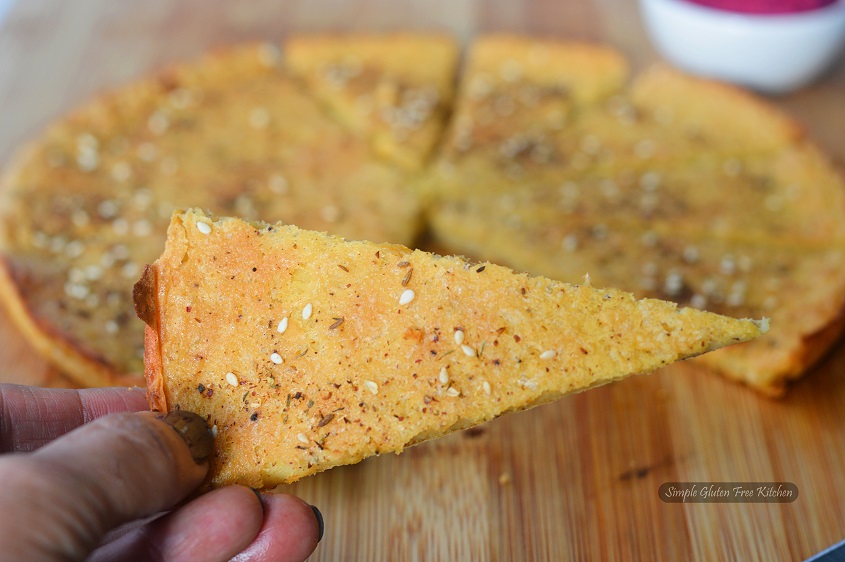
Enjoy a slice with soup or salad or top as you would a flatbread. Pesto, hummus, guacamole, roasted veggies, and celery salad are all good options. I especially love to serve this as a starter when we have friends over for dinner, seasoned with za’atar. It goes so well with drinks.
If you like this recipe be sure to subscribe to simpleglutenfreekitchen for more amazing recipes in the future, and spread your love for food by sharing this post everywhere. If you make it, please tag me on Pinterest, Facebook, Twitter, or Instagram so I can see it! I also post videos every week so make sure to subscribe to my YouTube channel if you haven’t already.
Ingredients
- Ingredients
- 125 gm (1 1/4 cup) Bengal gram flour (besan) or chickpea/garbanzo bean flour (use scoop and sweep method if measuring by cup)
- 375 ml (1 3/4 cup) water
- 3 tbsp olive oil, divided
- 1/2 tsp salt
- 1/3 tsp black pepper or to taste
- Za'atar
Instructions
- Place Bengal gram flour (chickpea flour) in a bowl. Add water bit by bit while whisking to avoid lumps until you have a creamy batter. If any foam has formed on the batter, remove with a spoon and discard.
- Cover with a plate or plastic wrap and let the batter sit at room temperature for at least 30 minutes, ideally four hours or even overnight so the water is fully absorbed by the flour.
- When it's time to bake farinata, preheat the oven to 500 deg F. Put a heat-proof skillet or cast iron pan in the oven to preheat for 15 minutes.
- Add salt, pepper and 1 tbsp olive oil in the batter. (While it's not mandatory to put oil but adding it creates the best texture).
- Carefully remove the hot pan from the oven. Pour the remaining 2 tablespoons of oil into the pan and evenly distribute it.
- Stir batter to mix well, then pour into pan. Swirl it around with a spoon to disperse batter evenly over the olive oil.
- Immediately put the pan in the oven and bake for 10-15 minutes on lower shelf.
- Then move the pan to center shelf and bake for 10 minutes or until the top is golden brown. If you like brown spots on top, turn on the broiler, about 1-2 minutes.
- Remove the pan from the oven, slide farinata out onto a cutting board and sprinkle with zaatar spice mix. Enjoy!
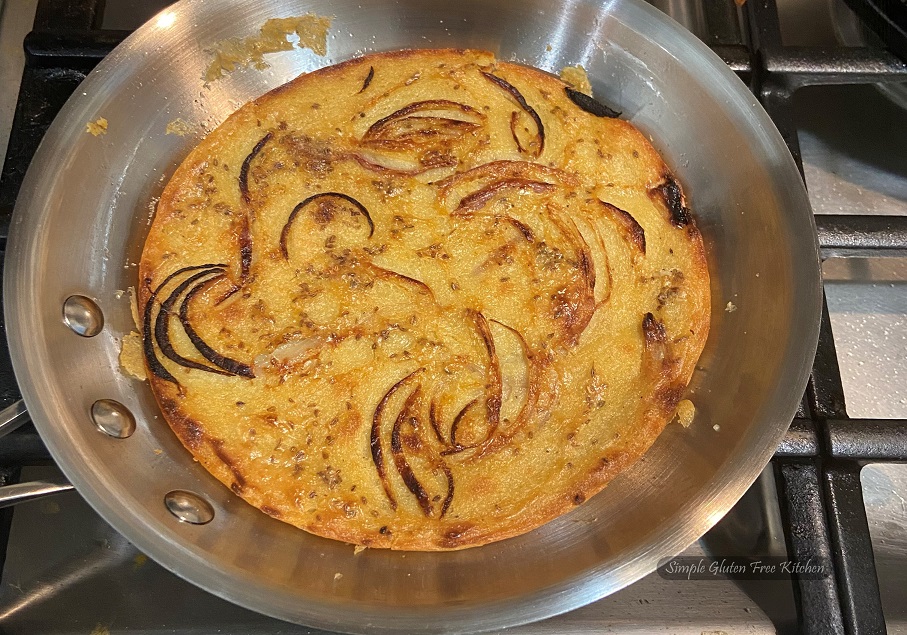
- The onions do not need to be caramelized before. Add them raw to the oil once the pan is heated. Pour batter. Scatter the onions evenly with a fork if required. Bake as above and broil for 1-2 minute in the end.
Notes
Resting time not included
Feel free to save this recipe by pinning this picture to your Pinterest board for later use!
I’m bringing this recipe To Angie’s linky party Fiesta Friday.

angiesrecipes
It’s one of my favourites! Yours looks absolutely perfect.
2pots2cook
Farinata aka torta di ceci is such a simple and tasty to have with savoury spreads at our home! So goood!
Pauline McNee
Your farinata looks delicious. I have some chickpea flour in the refrigerator, this is how I will use it. Thanks for sharing this great recipe.
Mayuri Patel
I’ve been a bit skeptical about trying out chickpea farinata at home as I feel it may turn out like our Indian chila. With all your tips, I’m tempted to give this recipe a try at home. Socca looks so inviting.
Maria
This recipe is perfect for people like me who are just venturing into gluten-free world! It’s easy to follow with few ingredients and so versatile!
Teri
Hi, I’m just making this now. It’s been sitting on the counter for 3 hours, there’s a very little amount of foam scattered over the top, which I’ll remove. But the batter seems to have separated into batter at the bottom and a clear liquid about 1cm thick floating on top, this is where the light foam is. So, do I mix the water and batter together again before cooking? Or do I pour the water off?? Surely not?
Balvinder
This is perfect. Sometimes there is not much foam that means no impurities in the flour. Mix it and go ahead with baking.
Nancy M Armitage
I found this recipe to be uncooked in the center. Even using a 10” skillet, I had better luck with a recipe using both less flour, water and oil and a shorter cook time. Traveling to Nice at the end of the month. I’ll see what the real thing tastes like.
Balvinder
I’m sorry to hear that it didn’t work out for you. I’ve been making this recipe for a few years now, using the same ratio of ingredients and oven temperature with great results. I hope you enjoy the authentic Socca in Nice at the end of the month!